

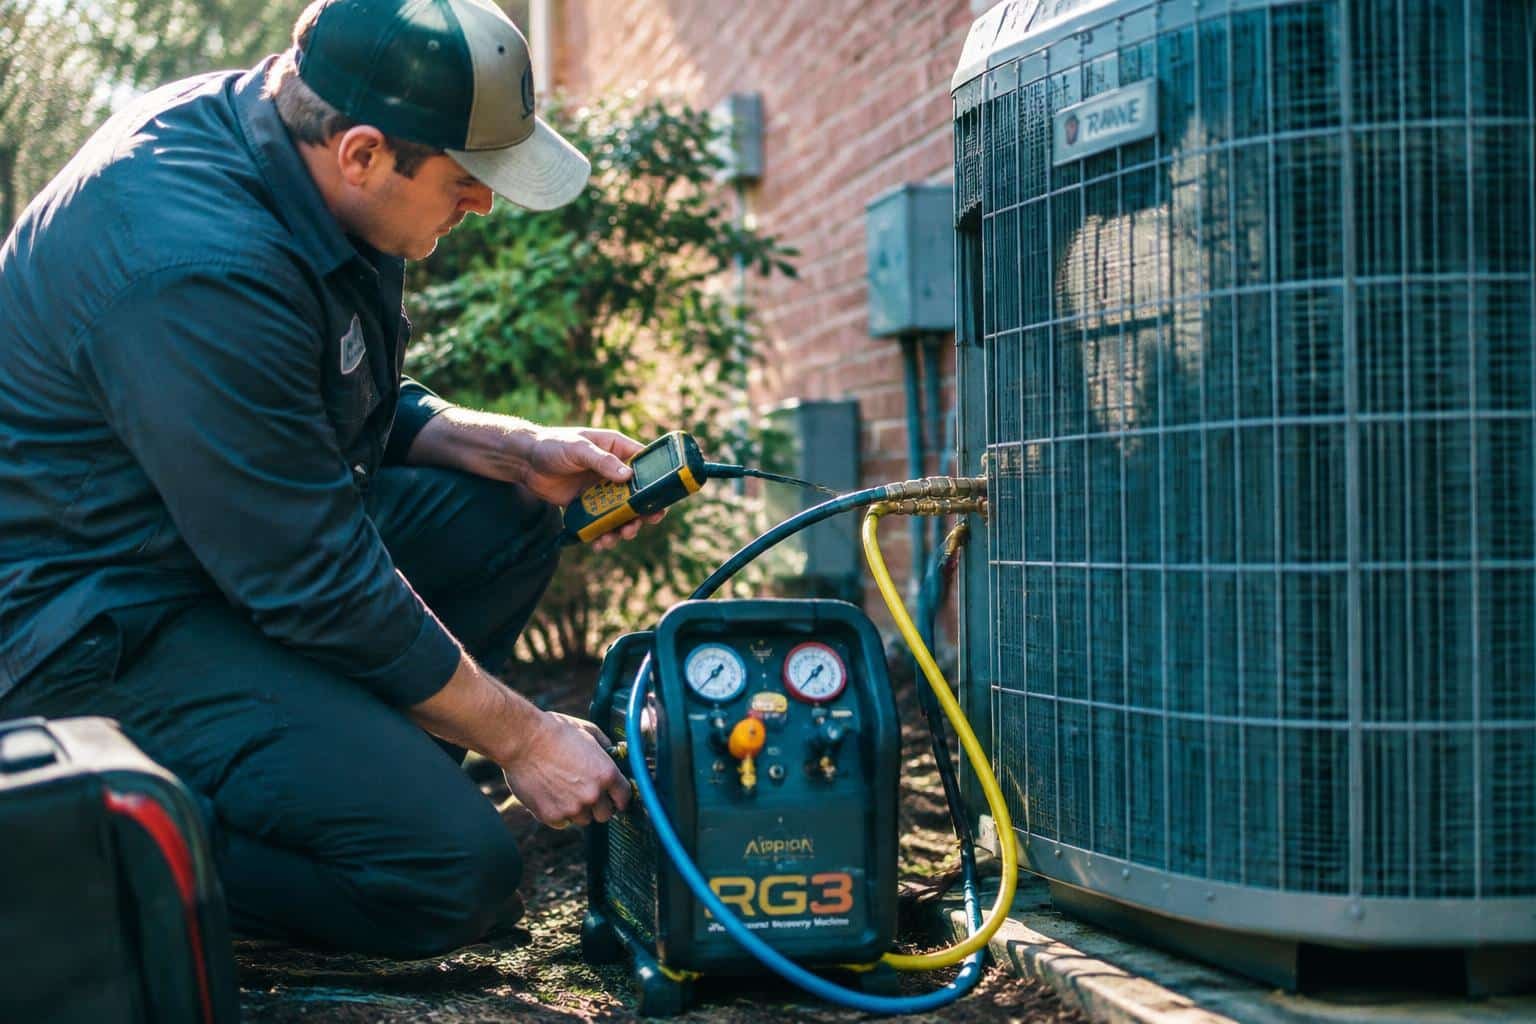
Refrigerant recovery and leak detection depend on accurate measurements, sound equipment, and careful service practices. As a technician, you need to verify refrigerant type, use a calibrated scale and recovery machine, and select a detector suited to the system and refrigerant. A sound recovery cylinder and properly placed electronic probe help prevent avoidable losses during service.
Key Takeaways:
- Recover refrigerant into an approved, correctly labeled cylinder, using a calibrated scale and recovery machine rated for the refrigerant; record the recovered amount and follow the equipment manufacturer’s procedure.
- Pinpoint leaks with an electronic refrigerant detector and confirm suspected locations with an approved bubble solution, paying close attention to service ports, brazed joints, coil connections, and Schrader cores.
- After repair, pressure-test with regulated dry nitrogen, evacuate the system with a vacuum pump and micron gauge, then recheck the repaired area for leaks before recharging.
Establishing Accurate Refrigerant Recovery Procedures
Before opening a system, identify its refrigerant and follow the equipment manufacturer’s recovery instructions and applicable handling requirements. Match the recovery method to the refrigerant type and system conditions, since mixing refrigerants can contaminate recovered stock and complicate later processing. Keep hoses, fittings, and the recovery machine clean, and use a dedicated cylinder suited to the refrigerant. Clear setup records, including refrigerant identification and cylinder status, give you a reliable starting point for each service job.
Selecting and Inspecting Recovery Equipment
Choose a recovery machine rated for the refrigerant and the system’s operating conditions, then inspect it before connecting the service hoses. Check the inlet screen, seals, electrical cord, and fittings for damage or residue, and confirm the machine’s maintenance requirements are current. Use low-loss fittings and clean, refrigerant-compatible hoses to limit emissions and prevent cross-contamination. A calibrated scale lets you track the cylinder charge by weight, while a separate clean cylinder keeps recovered refrigerant identifiable.
Following Safe Recovery and Cylinder-Handling Practices
Place the recovery cylinder upright on a stable surface, verify its refrigerant designation, and inspect its condition and service status before use. Connect hoses securely, purge air according to the equipment instructions, and recover refrigerant within the cylinder’s marked fill limit. Monitor cylinder weight throughout the job, since pressure alone does not show how much liquid refrigerant it contains. After recovery, close the valves, disconnect with low-loss fittings, and label the cylinder with its contents and source system.
Improving Leak Detection Accuracy
Accurate leak location depends on a repeatable test sequence rather than a single reading. You can isolate the circuit, establish stable operating conditions, and apply a suitable detection method in a consistent pattern, recording where each indication occurs. Retesting from a different direction helps distinguish a true leak from airflow, residual refrigerant, or contamination that can distort a sensor response. Keep the work area ventilated and follow the detector manufacturer’s instructions, especially around joints and service ports.
Choosing Suitable Detection Methods
Select a detector based on refrigerant type, access, and the suspected leak’s size. An electronic refrigerant detector is useful for scanning accessible joints, while approved fluorescent dye can reveal seepage that is difficult to catch during a brief test. For isolated components, a pressure test with an approved inert gas and bubble solution can pinpoint escaping gas at a connection. Review the Best Leak Detection Methods: Expert Q&A on Effectiveness for method considerations.
Checking Common Leak Points
Start at locations disturbed by vibration, corrosion, or service work, including flare fittings, brazed joints, Schrader cores, valve caps, and coil return bends. Move the detector probe slowly around each full circumference, keeping its inlet close without touching oily surfaces that can contaminate the sensor. At evaporator coils, inspect the drain pan and accessible bends, since refrigerant oil residue can mark a leak path. Record each positive location and the test conditions, such as system pressure and refrigerant present.
Confirming Repairs and Preventing Repeat Leaks
Once you complete a repair, post-repair testing verifies that the refrigerant circuit is sealed before the system returns to service. Test the repaired joint and nearby connections with an appropriate leak detector, then follow the equipment manufacturer’s specified pressure and evacuation procedures. A stable pressure test and a satisfactory vacuum hold provide separate evidence of system integrity. Record the test conditions and results so the basis for recharging is clear in the service record.
Verifying Repairs Before Recharging
Before adding refrigerant, isolate the repaired section and pressure-test it with dry nitrogen at the manufacturer’s specified limit, using a regulator and an approved pressure gauge. Apply an electronic leak detector or bubble solution to the repaired fitting, valve, or braze joint, then inspect for a sustained signal or growing bubbles. After a passed pressure test, evacuate the circuit and confirm it holds the required vacuum. Detector selection matters; see the benefits of investing in a quality HVAC leak detector.
Documenting Findings and Corrective Actions
Record the leak location, component condition, repair method, and the detector or test equipment used. Include nitrogen test pressure, hold duration, observed results, evacuation readings, and any replaced parts, such as a Schrader core or service valve. Note the technician’s name and the date, then attach relevant photographs or instrument logs when available. A clear entry lets the next technician distinguish a verified repair from an untested connection in the equipment’s service history.
Maintaining Equipment and Technician Readiness
Consistent recovery and leak detection depend on equipment that performs within specification and technicians who know how to use it correctly. Keep recovery machines, scales, vacuum pumps, and leak detectors in serviceable condition, and make sure each technician understands the readings and limitations of their instruments. Clear maintenance records let you trace a result to the tool used and its calibration status. For further context, see The Importance of Leak Detection.
Calibrating and Maintaining Instruments
Before use, inspect electronic leak detectors for damaged probes, blocked filters, and depleted batteries, then test them against the manufacturer’s reference source. Calibrate refrigerant scales and pressure gauges at the intervals specified for the equipment, recording the date and any adjustment. Clean recovery-machine filters and verify hose connections, since restrictions or leaks can distort operating readings. Store detectors in their cases and keep calibration certificates with service records, so you can identify the instrument used for a diagnostic reading.
Training for Safe, Compliant Work
Technicians need practical instruction in refrigerant identification, recovery-cylinder handling, and the operating limits of each machine they use. Train staff to interpret detector responses around joints and service ports, where airflow and residual refrigerant can affect readings. Review manufacturer procedures and applicable refrigerant-handling requirements during onboarding and refresher sessions. During supervised work, have technicians demonstrate cylinder weighing, leak-detector bump testing, and safe hose disconnection before they perform those tasks independently.
Summing up
Reliable refrigerant recovery and leak detection depend on accurate measurements, sound procedures, and properly maintained equipment. You can recover refrigerant with a suitable recovery machine and cylinder, then use an electronic detector or approved bubble solution to locate suspected leaks. After repairs, pressure testing and evacuation confirm whether the system is ready for charging. Keep service records that identify the leak location, repair method, and test results, so your next technician can trace the system’s history from specific evidence.