

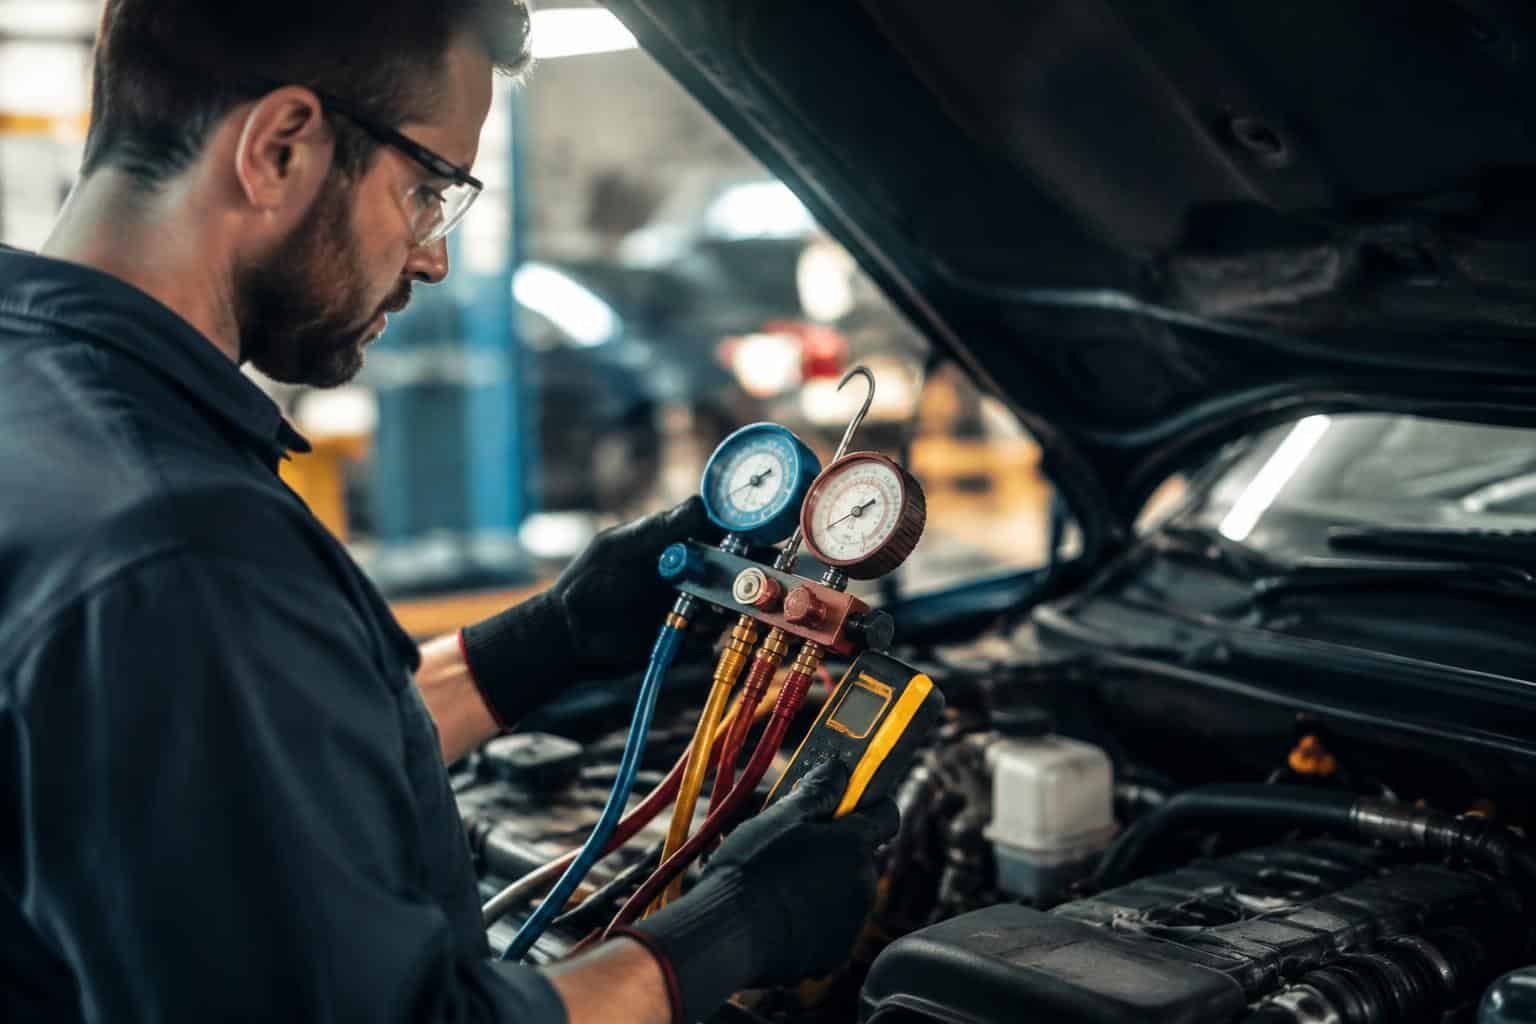
An incorrect refrigerant charge can strain the compressor, weaken cabin cooling, and turn routine air-conditioning service into an expensive repair. Before connecting recovery equipment or adding refrigerant, you need to identify the system’s specified refrigerant and charge amount. The under-hood label provides these details, including whether the vehicle uses R-134a or R-1234yf.
Key Takeaways:
- Match the refrigerant identifier reading to the under-hood label and service information before connecting equipment; R-134a and R-1234yf require dedicated, non-interchangeable service fittings and equipment.
- Use an electronic leak detector or approved leak-detection method before charging, and inspect the recovered refrigerant for air, moisture, or mixed refrigerants. Contamination can damage recovery and charging equipment as well as the vehicle’s A/C system.
- Recover refrigerant with a compatible recovery machine, then charge by the specified mass using a calibrated scale. Verify operation against the vehicle’s pressure and temperature specifications rather than relying on low-side pressure alone.
Confirming Refrigerant Type and System Specifications
Start with the under-hood label and service information for the exact vehicle, since refrigerants and required charge weights differ by model and year. Match the refrigerant listed on the label to the recovery machine and service couplers before connecting equipment; never infer the type from a previous repair or the vehicle’s age. Record the specified charge mass and oil type, then follow the manufacturer’s instructions for the compressor and lubricant.
Checking for Leaks and Contamination
Inspect the Circuit Before Service
Before opening the system, inspect hose crimps, service-port cores, condenser joints, and compressor shaft seals for oily residue, a common sign of refrigerant leakage. Use an electronic leak detector around each connection, following the tool maker’s instructions and the refrigerant specified for the vehicle. Examine the condenser face for impact damage and the receiver-drier or accumulator for signs of corrosion. Record any leak location before service begins.
Assess Refrigerant Condition
Contamination can damage components and compromise system performance. Check the service history and inspect accessible oil for dark discoloration, metal particles, or a burnt odor, which can indicate compressor wear or internal damage. Use refrigerant identification equipment to detect mixed or incorrect refrigerant before connecting service equipment. If the system has been exposed to air or moisture, inspect the desiccant component and fittings for evidence of deterioration.
Recovering and Charging Refrigerant Accurately
Measure Recovery and Charge by Weight
Use a calibrated refrigerant scale and an approved recovery-recycling-recharging machine to capture and dispense refrigerant by mass, rather than estimating from cylinder pressure or run time. Confirm the machine’s hoses are connected securely, select the specified refrigerant, and record the amount recovered before charging. Follow the vehicle’s under-hood charge label or service information for the exact mass; even a small weighing error can leave a system undercharged or overcharged. Keep A/C service skills fresh with equipment-specific training.
Limit Refrigerant Loss During Service
Before disconnecting service couplers, use the machine’s hose-clearing or refrigerant-recovery function so refrigerant in the lines returns to the system or recovery cylinder instead of escaping. Keep recovery-cylinder fill limits within the manufacturer’s specifications, and use a dedicated, correctly identified cylinder to avoid mixing refrigerants. After the machine completes charging, verify the displayed dispensed mass and note it on the service record; a recorded charge in grams or ounces provides a direct reference for the next repair.
Verifying Operating Pressures and Temperatures
With the correct refrigerant charge established, connect manifold gauges and temperature probes to read the system under the vehicle manufacturer’s specified test conditions. Stabilized high- and low-side pressures, together with vent and line temperatures, show whether the system is operating within its specified range. Interpret those readings against ambient temperature and service data, since pressure alone does not confirm proper performance. For diagnostic context, consult Diagnosing Your Car’s Air Conditioning Issues.
Inspecting Electrical Components and Airflow
Rule Out Control and Airflow Faults
Before treating abnormal cooling as a refrigerant issue, inspect the cabin blower, condenser fan, fuses, relays, wiring connectors, and compressor clutch or control valve. A failed fan can raise condenser temperature and pressure, while a weak blower can reduce air across the evaporator. Check that the compressor receives its commanded signal and that fan motors run without binding; these faults can produce symptoms that resemble an incorrect refrigerant charge.
Following Safety, Environmental, and Documentation Requirements
Protect People and Prevent Refrigerant Release
Before opening the circuit, wear refrigerant-rated gloves and eye protection, and work in a ventilated area away from ignition sources when servicing flammable refrigerants. Keep occupants clear of the work area, use a recovery machine and approved cylinder, and never vent refrigerant to the atmosphere. Follow the refrigerant’s safety data sheet and applicable handling rules, including requirements for refrigerant identification and recovery.
Record the Service Details
After service, document the refrigerant type and amount recovered or charged, the vehicle identification, the work performed, and any leaks or component repairs. Record readings and the recovery cylinder used in the shop’s service log, then retain required records under local regulations. A clear entry lets the next technician trace the refrigerant handling history and identify the exact service performed.
Final Words
Before servicing an automotive refrigerant system, confirm the refrigerant type and specified charge, inspect for leaks and contamination, and use a calibrated recovery and charging machine. Verify pressures and vent temperatures against service data, then inspect compressor operation, electrical connections, condenser airflow, and cooling fans. You also need to use refrigerant-specific equipment, wear appropriate eye and hand protection, and document recovered and added quantities. These checks catch common causes of repeat repairs, including an incorrect charge, restricted airflow, and undetected leaks.